 |
Rainbow-y Goodness |
With this cake, everyone's first impression is wow! Then eww! Wow because it looks amazing, eww because they immediately think about how much food colouring has gone into it. I am a fan of food colouring. There is very little that can turn me off cake. But in saying that, I would just like to point out that this cake uses gel colours which means you actually don't put much in it because the colouring is strong. It's not actually that much colouring... and what's so bad about food colouring anyway? It looks good! It's called food colouring for a reason - to be eaten! Eat the cake, people! Okay, okay. I'll stop my rant now.
Basically the cake is made of 6 layers, each one coloured a different colour and then all iced together with white (buttercream) icing. It really doesn’t take too long, it’s just a bit of effort, but then what isn’t? So because I am rather lazy, I actually use cake mix… hehe! For each packet, I make 2 layers and bake them at the same time. This means, 3 lots of cake.
 |
| Cake mix.. |
 |
| Wilton Gel Colours - a must! |
I figure cooking/baking is an imprecise art, to me measurements aren’t that important… maybe it’s because I’m just too lazy, but instead of measuring out the cake when I divvy it, I just guess. It works alright and uneven layers can easily be turned around to look straight.
(Sorry about the sideways pictures, I can't figure out why it came out all sideways and couldn't rotate it! Help?)
(Sorry about the sideways pictures, I can't figure out why it came out all sideways and couldn't rotate it! Help?)
 |
| Mixing in (blue) colour |
 |
| Ka-Pow! Blue cake! |
Here’s an artsy shot of all the cake layers pre-icing. Now we get excited!!
 |
| The cake starts to come together... excitement! |
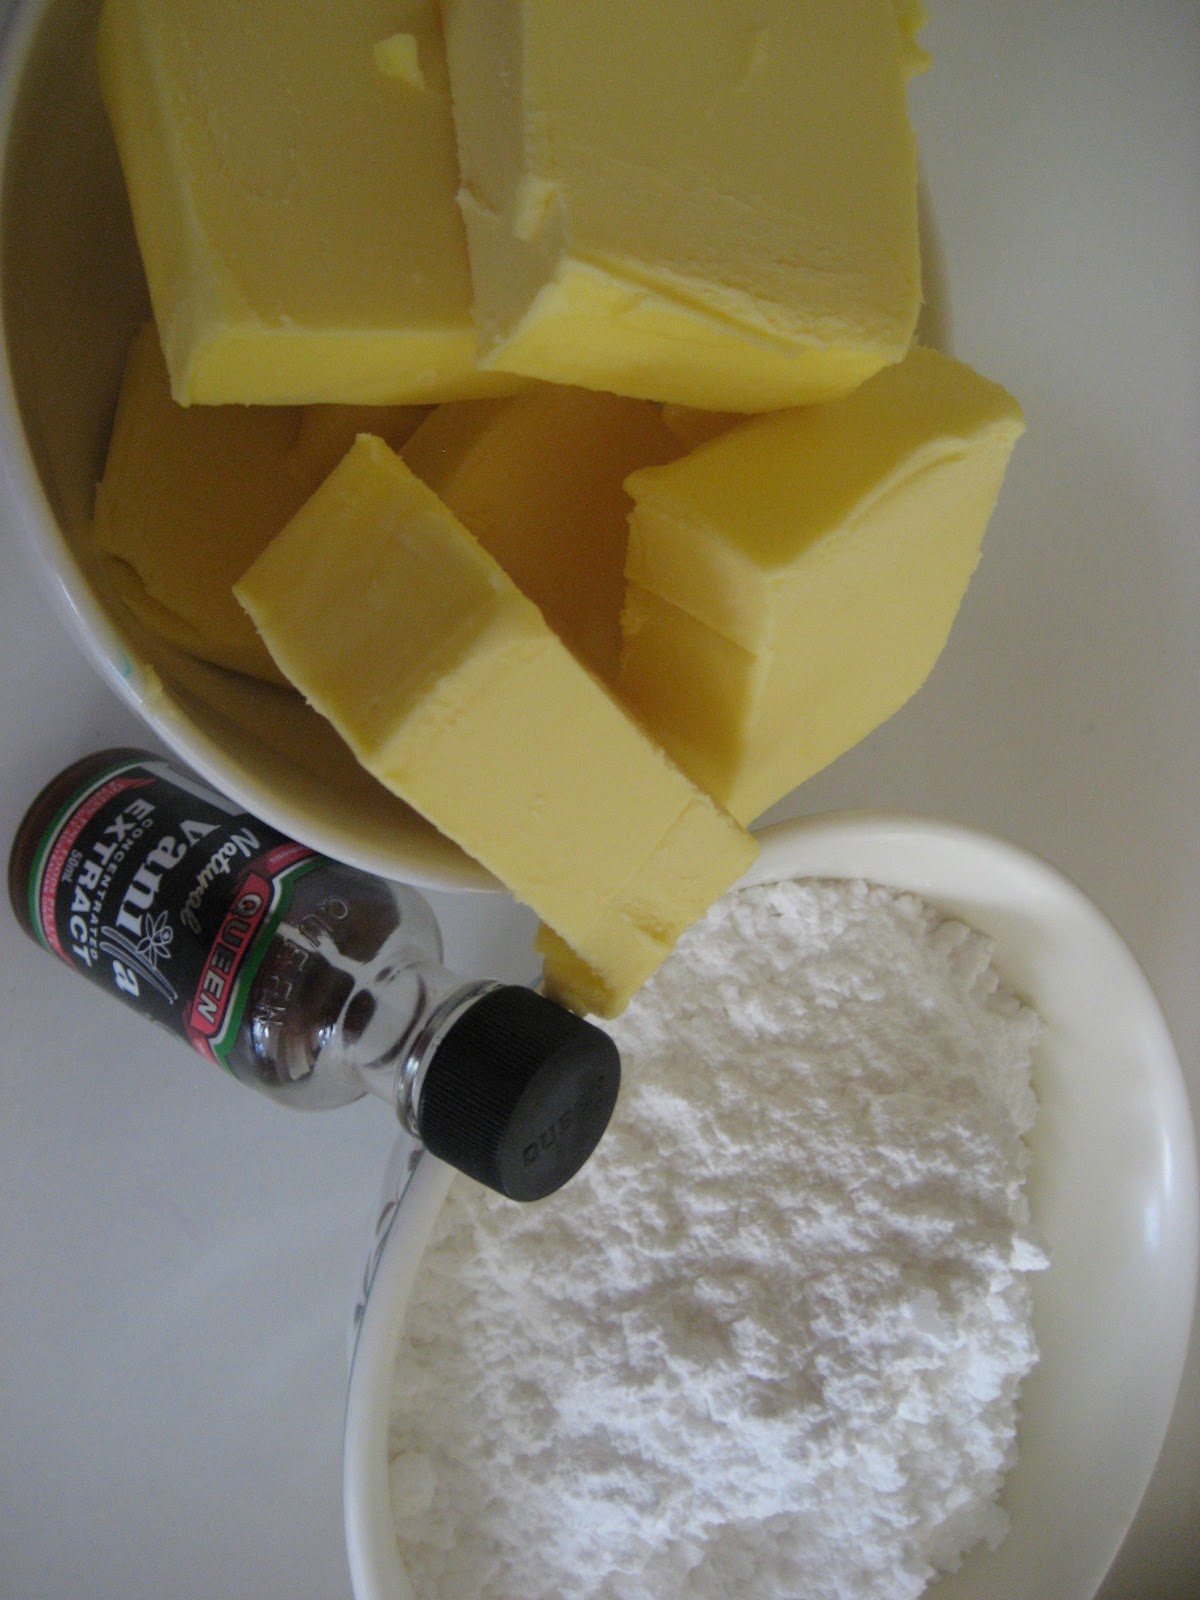
Buttercream icing is super easy to make. 2 cups of icing super for every 125g of softened butter plus a tablespoon of milk and a teaspoon of vanilla essence. (I think I used 4 cups of icing for this cake... or maybe it was 6. I'm not sure, but it does use a lot of icing and better to have too much than not enough!) Start with the softened butter and sugar, then when combined add in the milk then vanilla. Beat everything together until it’s smooth - be patient with this. I used to be incredibly impatient which meant my buttercream was never smooth. Now I've realised beating is very therapeutic (haha!) and it looks better too!
 |
| Buttercream icing... mmmm |
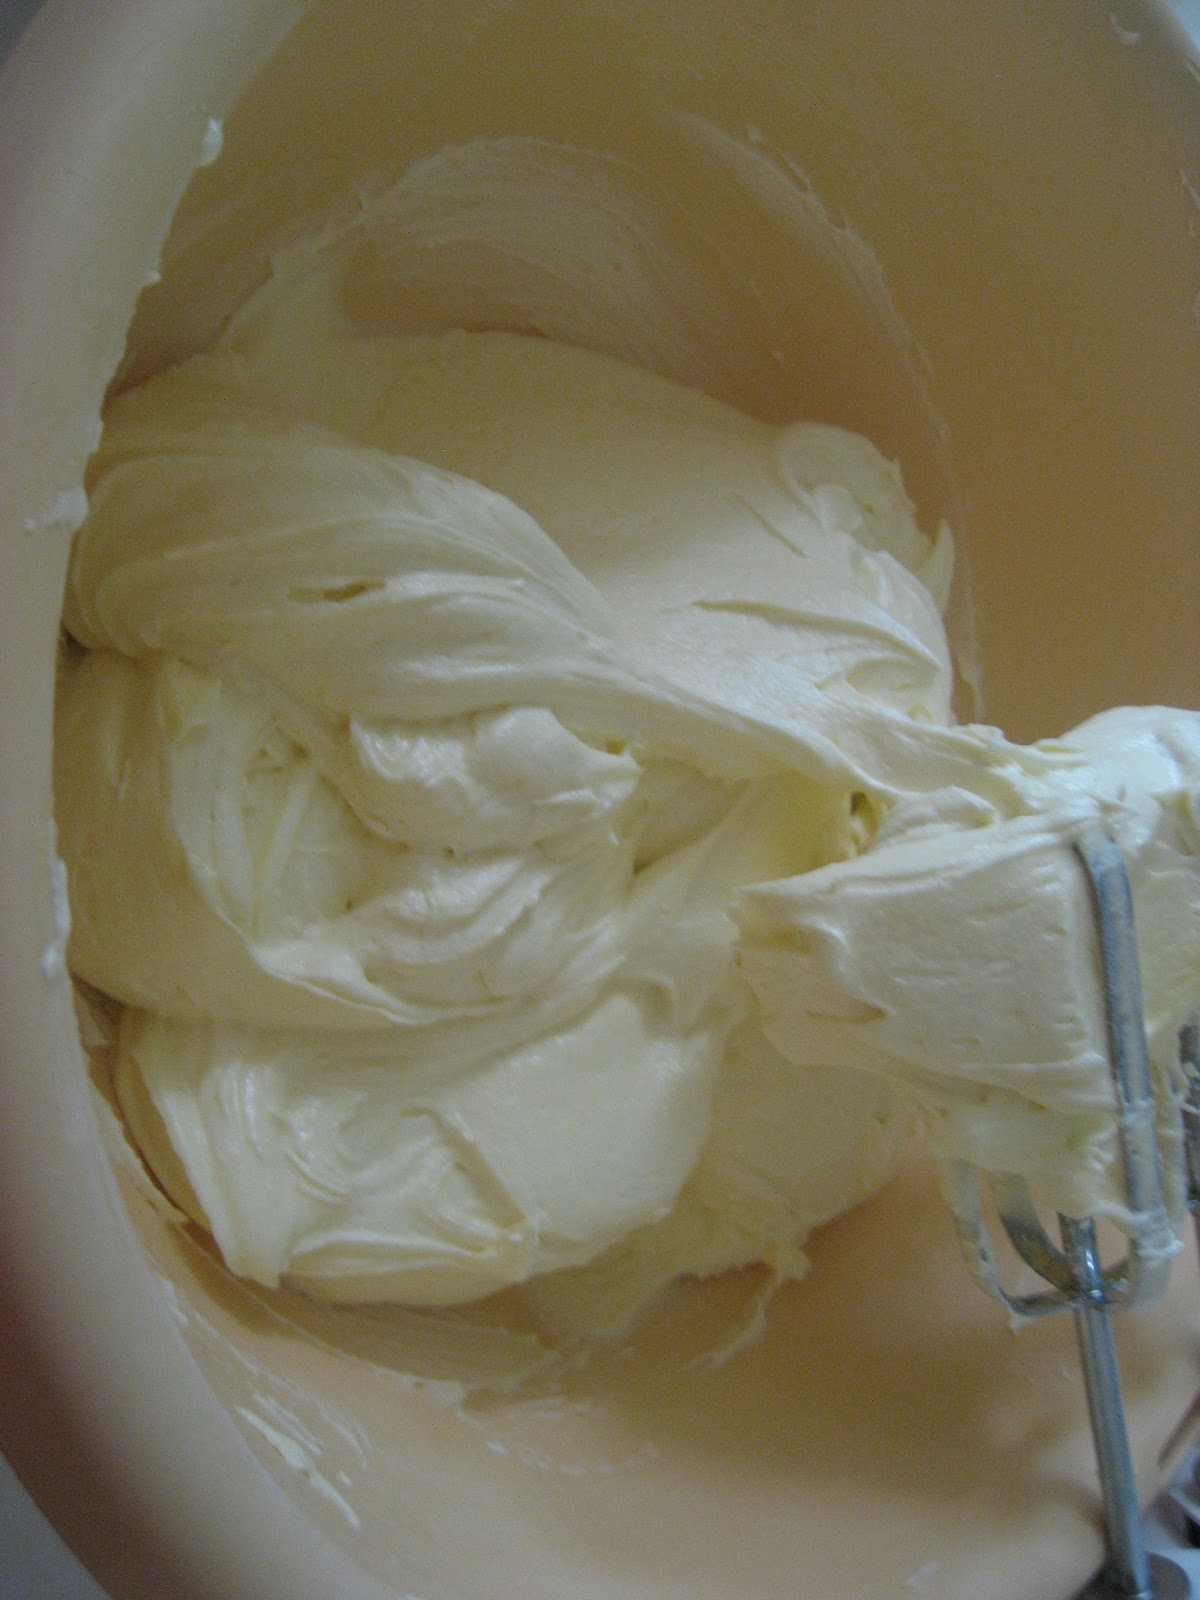 |
| Make sure you beat it until it's smooth, be patient! |
Then we get to put everything together. I start with the purple layer of cake. Put it on a cakeboard, top it with some buttercream, then blue, then some butter cream, etc, etc until I reach red. Make sure you spread the buttercream right to the edges, but don't freak too much, you can fill it in later.
 |
| Yay! |

Now because I’m icing the cake white, we really don’t want to get any crumbs in the icing and ruin it. So the trick to this is crumb-coating the cake. This is when you ice the cake with a really thin layer of icing first and let the icing set so it effectively catches all the crumbs. That way, when we get to the real icing, we can just ice/spread it easily and there aren’t (well shouldn’t) be any crumbs in it. That way you get that really neat finish. (Unfortunately for me, on this particular day it was really hot, which meant the icing wouldn't set so I couldn't get it all nice and smooth...)
If you are able to get the icing to set and want to make it smooth, what I would do is I get a knife that's not too serrated (or a spatula) and dip it in hot/warm water and then go over the icing. This sort of smooths out the icing and makes it pretty. On an interesting side note, I was watching Cake Boss and they use a clothes steamer which sort of melts the fondant (which they use instead of icing) and makes it all smooth and shiny! Same idea really.
If you are able to get the icing to set and want to make it smooth, what I would do is I get a knife that's not too serrated (or a spatula) and dip it in hot/warm water and then go over the icing. This sort of smooths out the icing and makes it pretty. On an interesting side note, I was watching Cake Boss and they use a clothes steamer which sort of melts the fondant (which they use instead of icing) and makes it all smooth and shiny! Same idea really.
 |
| The cake is white! |
 |
| Yay! As you can see, I gave up on smoothing the sides and spiked it instead, not my best effort, but I tried! |
c.c.
1 comments:
as always i am DROOLING over your baked goods!!!!!!! this has got to be my second favourite ever - after your gingerbread cookies!!!
FANTASTIC post cc, food baby is calling out for some cake now
Post a Comment